On gouache

It's been a very long while, but I have decided to give the old blog a go again, even though I am not entirely sure that many people even read blogs any more. I guess I am about to find out!😅

To get the ball rolling, I thought I would revisit some thoughts on gouache. While I love my oils, sometimes I feel like the preparation, heft, and cleanup of carting out my oil painting gear can actually be a deterrent to regular plein air practice. I started playing with gouache some time ago as a way to develop a simpler, more lightweight plein air painting kit that is easier to set up and clean up.

Gouache is basically an opaque watercolor, that can be applied using a direct painting approach similar to the way I paint in oils (dark to light, "thin" to "thick", etc.) It can be applied in thin washes or opaque strokes, though it really doesn't allow for heavy impasto techniques due to its tendency to crack or chip at very thick consistencies. Even so, it has a lovely velvety appearance that, unless varnished, can be reactivated with water for additional painting or adjustments. It is easy to clean up afterwards and lends itself to small formats for studies and low-stress experimentation.

One thing that I have had to adjust to is that there is a color shift as the paints dry that requires a certain amount of regular practice to be able to intutively anticipate. Specifically, light colors appear darker as they dry and dark colors tend to dry a bit duller and lighter.

The other big adjustment is the rapid dry time, which is both an advantage and a handicap for a painter used to the long open times with oil paints. Regular application of water using a spray bottle to re-wet the palette while working helps with this, but it can still be a struggle for me when painting outside in the open air, especially at locations like the beach, where the rapid dry time is intensified by the heat and ocean breeze. As with any skill, practice is key.

Here is a little video my teen daughter put together for me of me finishing up a gouache still life, painted from the convenience of my back porch. I hope to do some longer videos in the future, especially if I can wrangle the kid's help again.

Adding some highlights, “Begonia on the Sill,” Gouache on Illustration board, 6x6”

Lake Como Painting Progression (continued)

Well the time has really gotten away from me this week, as we are in the home stretch of my daughter’s “learn from home” work for her last weeks of fourth grade. But I HAVE been making progress on my painting of Varenna, the start of which I shared in my prior post.

First things first… I thought before going any further I would share a little about the colors currently on my palette, and what I’ve been using to work on this piece.

palette2.jpg

I will start by saying that this is a pretty big palette of colors for me, and definitely larger than what I use for my field work. But because I have such limited studio time, it helps to have a few more “convenience colors” to work with so I don’t spend so much time mixing. Plus look at those yummy colors. Sometimes it is just plain fun to indulge in them, as long as I don’t have to carry them around in my backpack! The paints listed with an asterisk* by their name are the kinds of colors I nearly always use. This is basically a double primary palette with the addition of an earth (brown pink) and a “black” (Payne’s Gray, which is really almost a dark blue).

I pretty much always lay my basic palette out the same way in a clockwise fashion. So for instance, starting with my earth colors in the lower left, I move up to white, which is always in my upper left, followed by colors from warm to cool, generally speaking. This palette has varied over time with a few colors added, or removed, or others substituted from time to time when I want to experiment. For instance, my two reds used to be Cadmium Red Light and Alizarin Crimson, but I switched to a cooler Napthol Red for my “warm” because when tinted it makes a cleaner, less orangey pink. I will use Quniacridone Violet in a similar manner to my former Alizarin Crimson for nice dark purples or browns, to modify other colors.

If you are new to painting I would recommend starting out with a double primary palette (a warm and cool of each primary color, yellow, red, and blue) plus white, and then slowly adding new colors over time as you get a good handle of what your primaries can mix. You might be surprised at what even a single primary palette can do.

Okay, enough palette talk for now. Let’s recap;

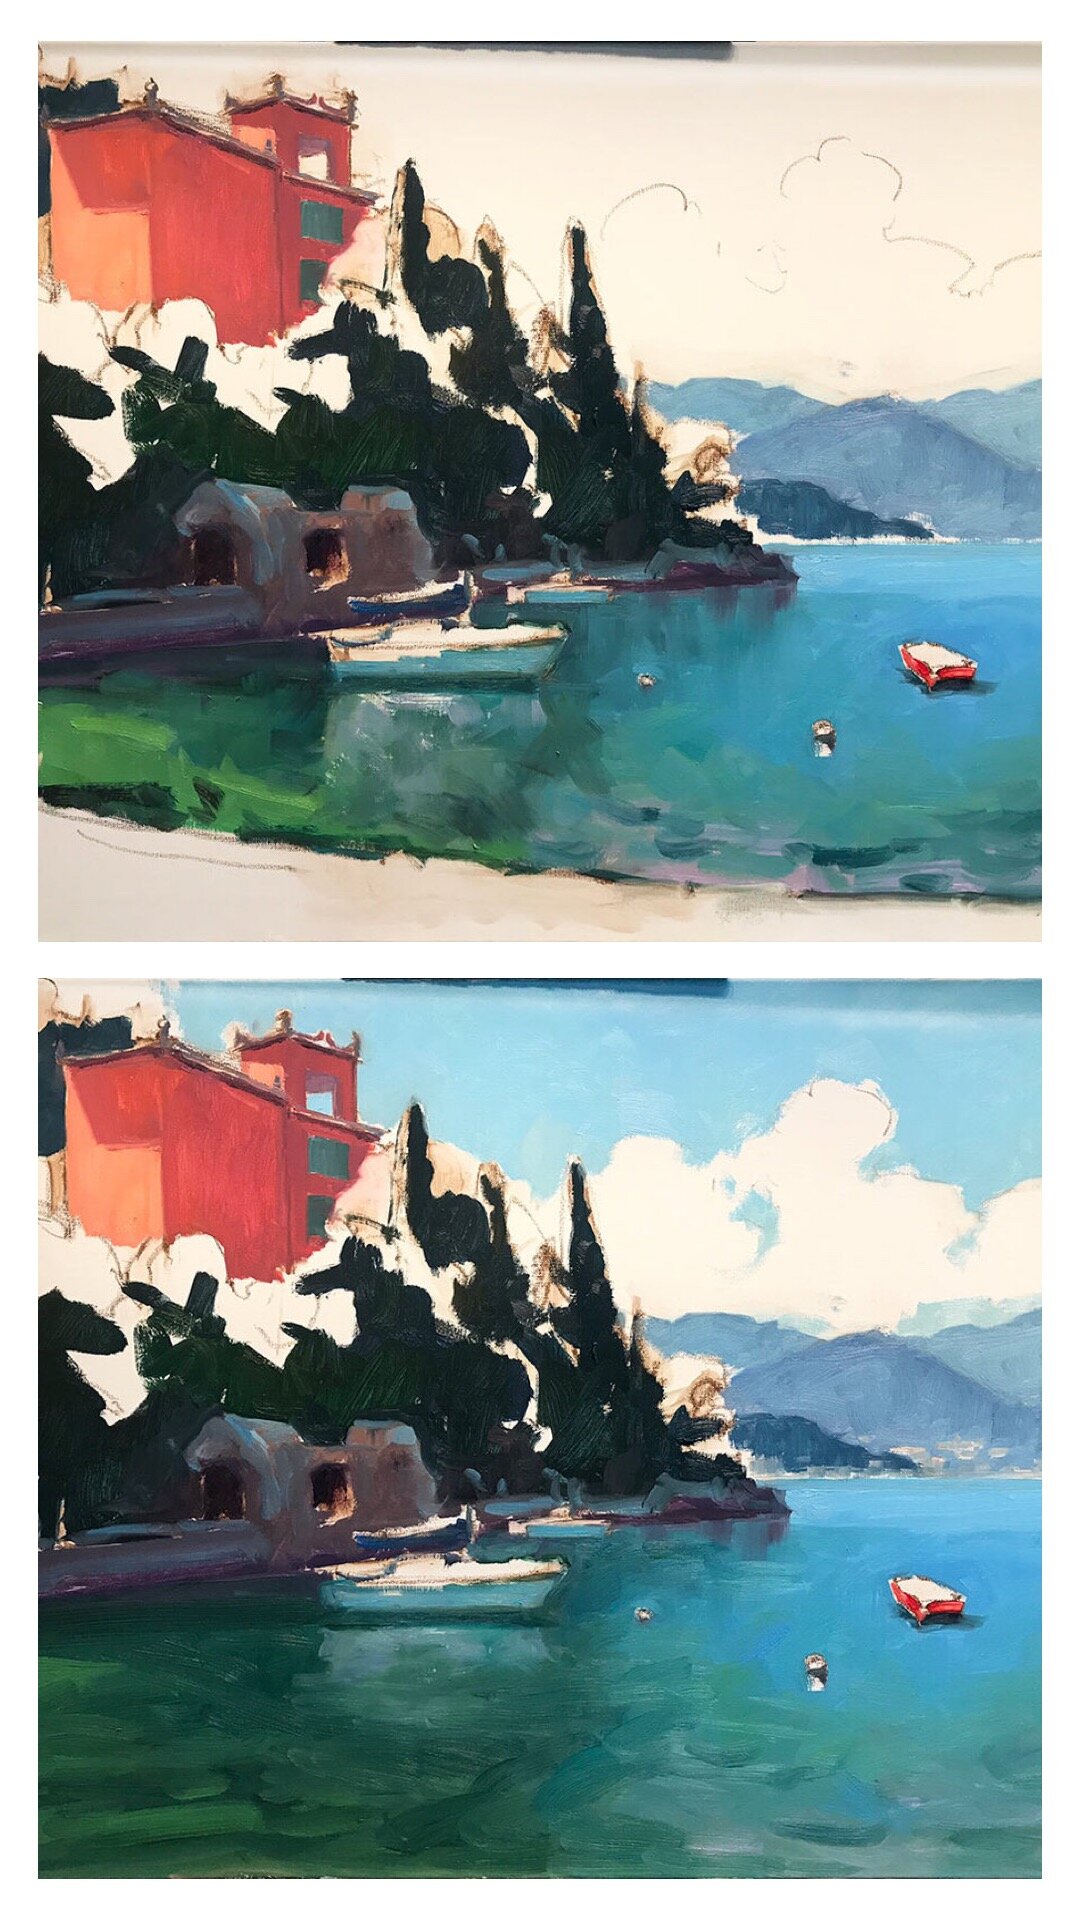
It’s time to address the rest of that white canvas by adding color to the lit side of the trees

varenna_demo_jenniferyoung

I also start addressing a few of the details of the foreground including boats and walkway to the town of Varenna.

varenna_demo_jenniferyoung

And finally (with a big caveat that this color is off because I was working on the painting at night and photographed it without the benefit of daylight) I start to address the masts, water, and clouds.

varenna8.jpg

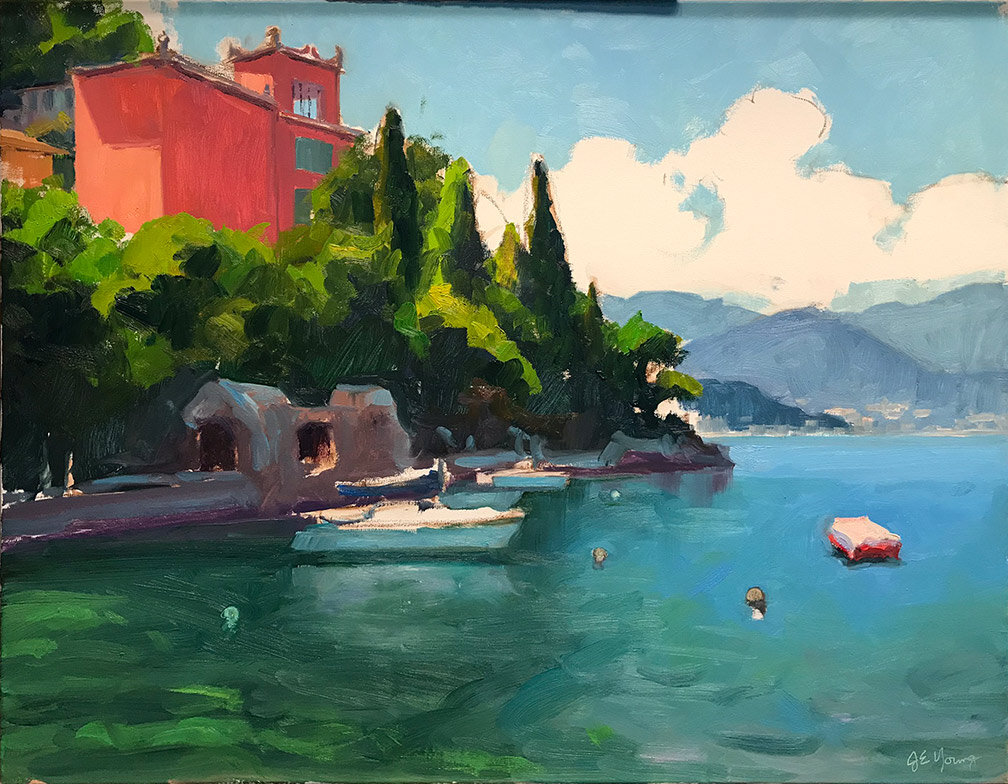
At this point I am going to sit with the painting for a day or two and may “tweak” it here and there, but I am close. I will post the finished piece, (photographed in better lighting) when I do. ***UPDATE*** See the final painting here.

Lake Como painting progression

I am working on putting together a video post, but I have to get my 9 year old to help me with some of the technical side first.😅 So today I am relying on the good old fashioned blog post, sharing a step-by-step painting in progress.

I had such a good time with my last Lake Como Painting that thought I’d “laissez les bons temps roule,” (as the Cajun in me likes to say.) I chose a scene in Varenna from my photo archives, one of my favorite memories that now feels like both yesterday and a long time ago. I chose one of my favorite canvas sizes, a 24x30”, and a color scheme of jewel tones that always cheers me up.

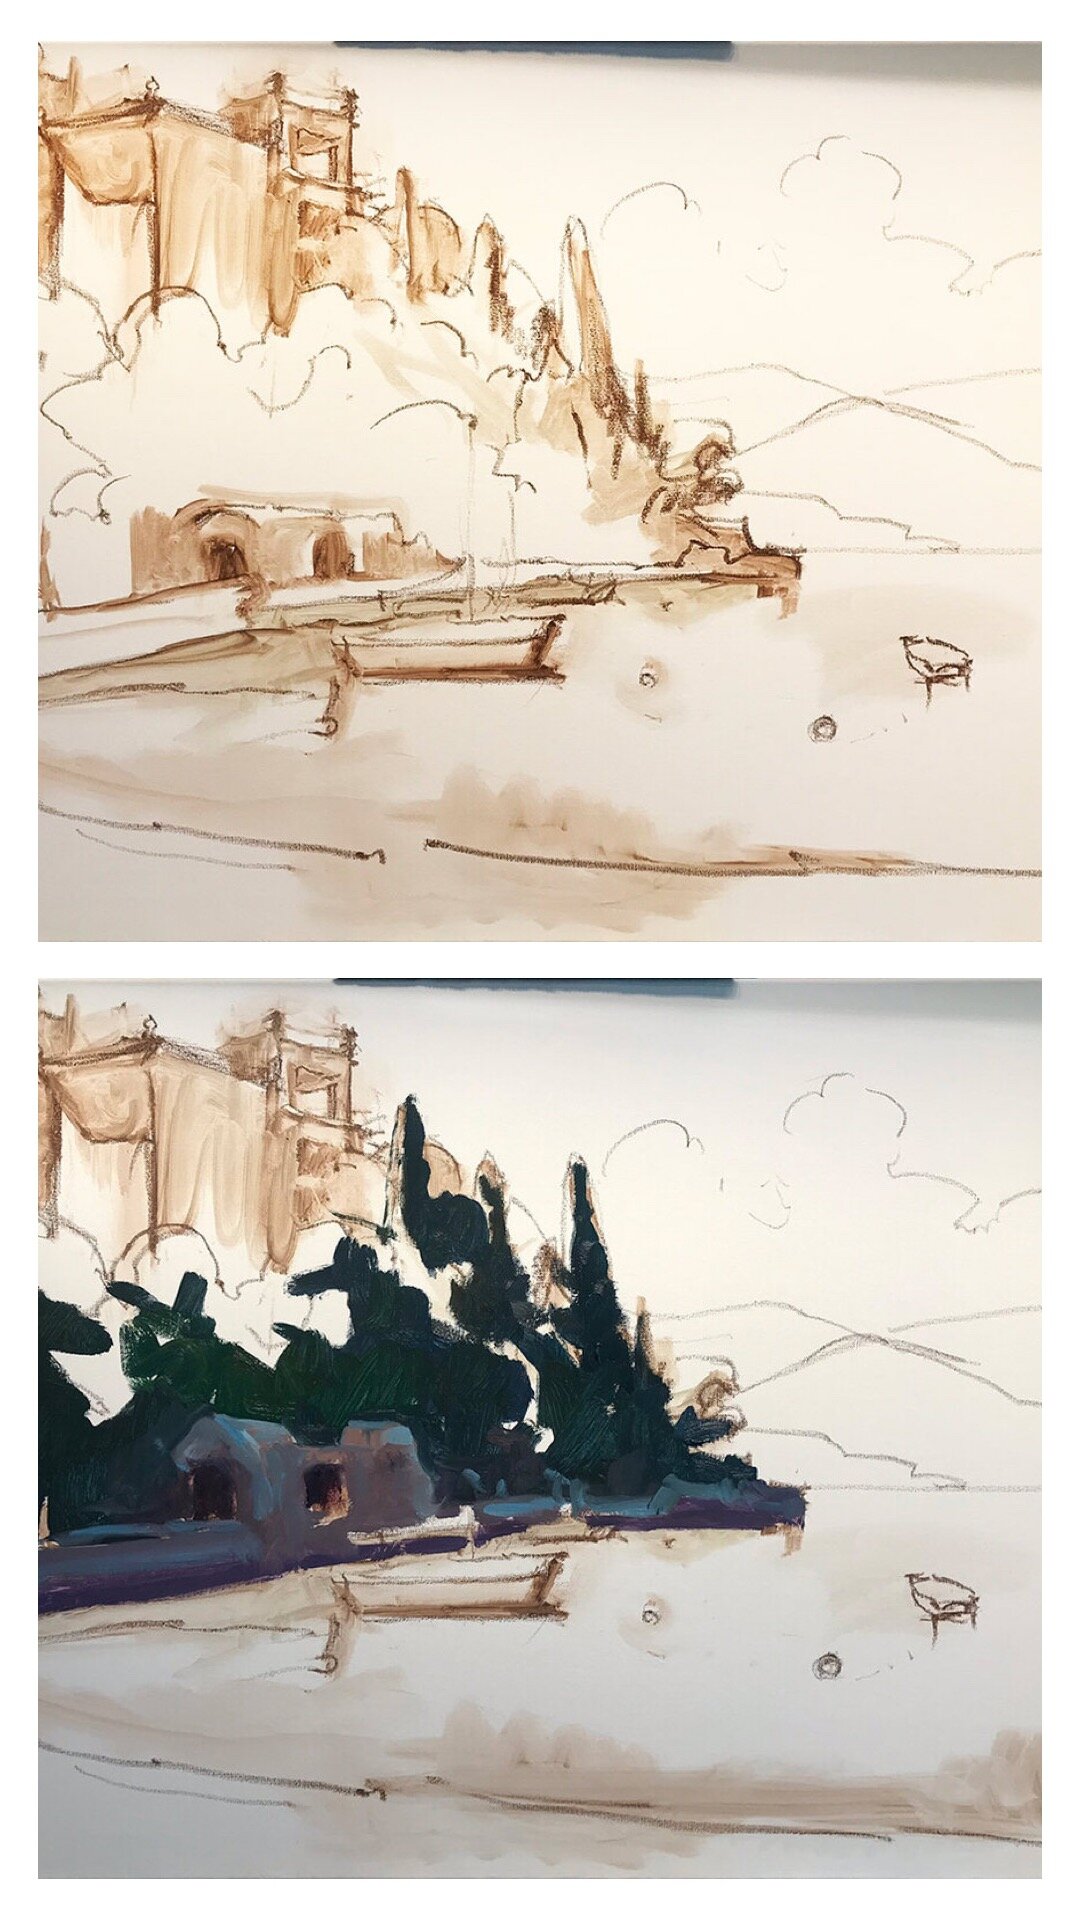
My starting approach for the last year or so is to just very casually sketch out my composition lightly in sienna oil pastel. The Sennlier oil pastel is so soft and lovely that it erases my change of mind with a very low stain, and yet allows me to indicate some shading at the same time.

varennasketch_jenniferyoung

Once I am more or less satisfied with my composition, I begin laying in some of the shadow areas of my painting, to get a feeling for the overall value pattern of my painting.

varenna_WIP_Jenniferyoung

I am generally trying to keep things very broad as I lay down the initial color. While not all of the water is “in shadow”, I decided to lay in the general color because I felt it would help me make a decision about the composition ( as you will see in the next photo.)

Varenna_Painting_Demo_JenniferYoung

My initial idea was to include the foreground shoreline with a couple of rowboats, but at the same time I wanted to keep the distant horizon below the middle point, which pushed the shoreline down. After laying in the water I decided the shoreline wasn’t really doing much for me or the composition.

Varenna_Painting_Demo_JenniferYoung

This is better, I think. Even working from photos in the studio, there is still a lot of decision making that goes into the process. You don’t have to be a slave to a photo and paint something in, just because it’s there in the reference. This is my painting, after all, and sometimes the best thing I can do for my work is to simplify. There may be a future painting with the shoreline boats as the feature, you never know, but sometimes it’s better to say one thing with clarity than several things with confusion.

At this point it was time to step away and make dinner, but I felt like I was at a good stopping point so this is where I left off last evening. I will still need to address the rest of that white canvas and make additional adjustments to the water and boats , but now I have a pretty solid idea of where I’m going next.

A Happy Thanksgiving Video Card!

Happy Thanksgiving friends! Here is a little start-to-finish video demo of a recently completed studio piece entitled "Snowfall in Ashland". May this painting video of my hometown bring you cheer as you prepare for your own festivities celebrating the blessings of home, family, and friends. 

Studio oil painting landscape demonstration from start-to-finish by Jennifer E. Young. See Jennifer's complete catalog of available paintings at www.jenniferyoung.com

A new start in 2017

Happy New Year everyone! Yes I know that's a bit late, but we are trying hard to shake off the fun and lazy days of winter break and get back in the routine of waking up early to report to work and school. Since my daughter was home on break, I gave up on the idea that I'd get any real work done and took that time off leading up to Christmas to devote to family. As much as I love painting, I had such a sweet time hanging with my daughter.

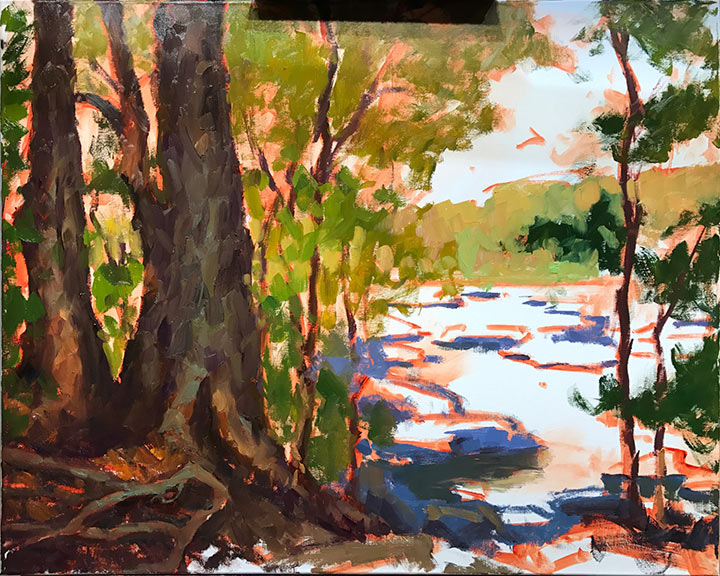
Nevertheless, there is a time and a season, and now I'm back to work and it's time for some art! We are settling into winter in Virginia, and it's prime time for hibernating and lot more work in the studio. I have done a lot of small works this past summer and fall, so I'm upping the scale for a while inside.  I'm starting out by picking back up with the James River Park theme.  This is a 24x30" piece of the section of the park known as Pony Pasture. I painted a small piece at roughly the same location in the fall, though this new view is what I saw when I turned my head to the left.

jamesriver_wip1_jenniferyoung

I like this idea of peeking out at the river through the trees. We will see if what I have in my mind can be successfully executed on canvas.

jamesriver_wip2_jenniferyoung
jenniferyoung_wip_jenniferyoung

One of my favorite things about locations along the river banks are the trees. Years of the water's ebb and flow at the river's edge has left many of the tree roots bare. Roots stretch out like tentacles clutching the land, and yet these large trees manage to hang on.